in this guide
This guide is for Australian residents, New Zealand citizens living in Australia or those who meet other residence rules who need to claim the Australian Government Disaster Recovery Payment or New Zealand Disaster Recovery Payment for a natural disaster event.
Information about these and other payments is detailed on the disaster event pages.
To claim online, you need a myGov account with Centrelink linked to it.
If you’re a nominee, you won’t be able to claim this payment online for customers you’re a nominee for.
If you can’t use your Centrelink online account, you can call us on the Emergency information line for help claiming this payment.
The screenshots in this guide are from a computer. The page layout will look different if you’re using a mobile device.
Step 1: get started
Sign in to myGov or the myGov app and select Centrelink.
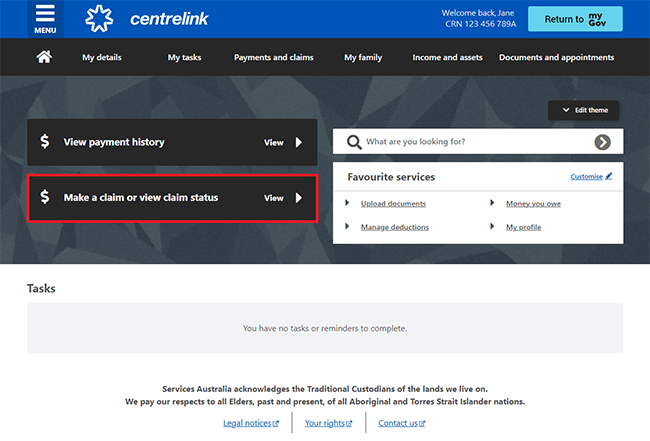
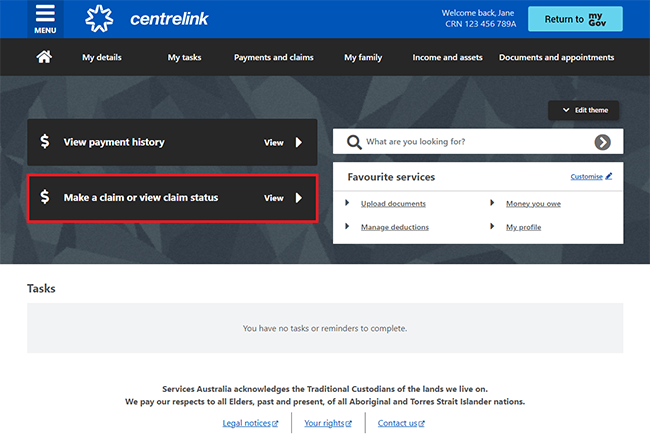
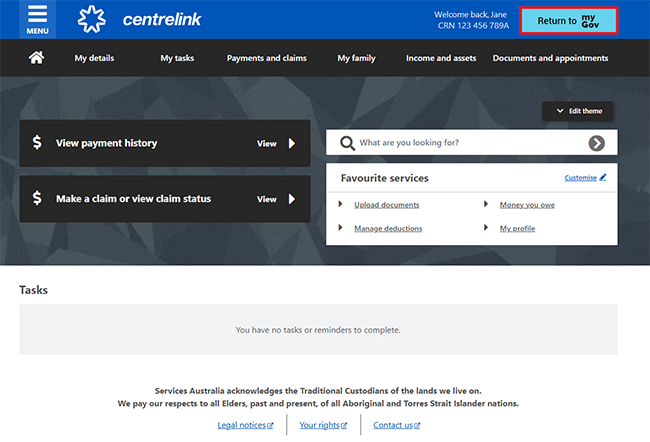
From your homepage, select Make a claim or view claim status.
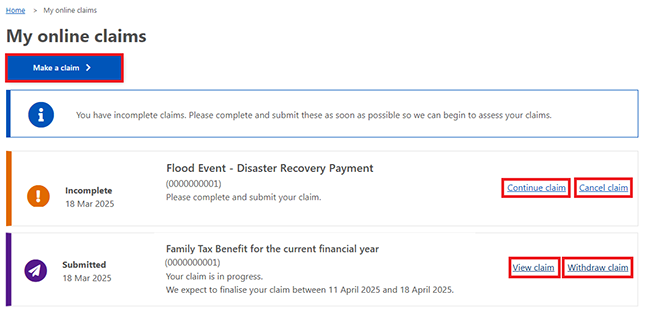
On the My online claims page, select Make a claim to begin a new claim.
If you’re not making a new claim, you can select any of the following:
- Continue claim to continue a claim you’ve started, which could be for a different disaster or payment
- Cancel claim to cancel a claim and start again
- View claim to see the details of a claim you’ve submitted
- Withdraw claim to withdraw a claim you’ve submitted.
If you withdraw your claim twice, you won’t be able to submit another claim online. If you reach the limit, you’ll need to call us on the Emergency information line for help with submitting your claim.
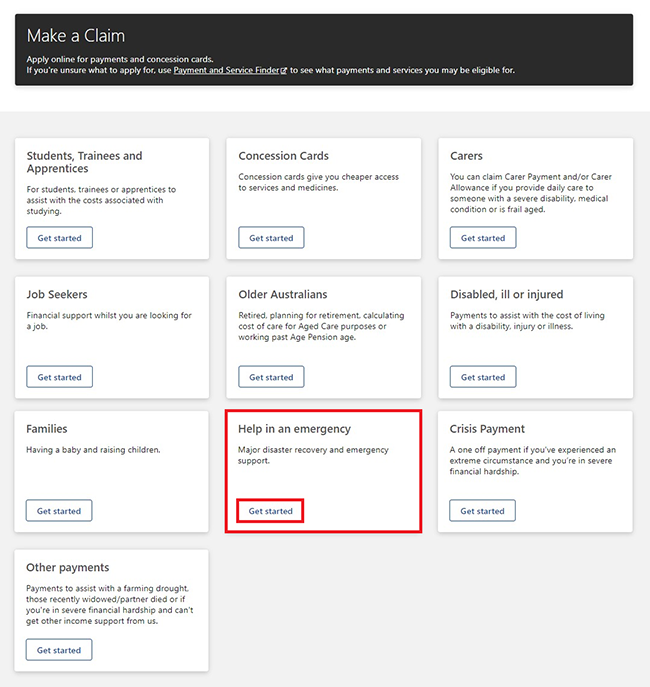
Select Get started from the Help in an emergency category.
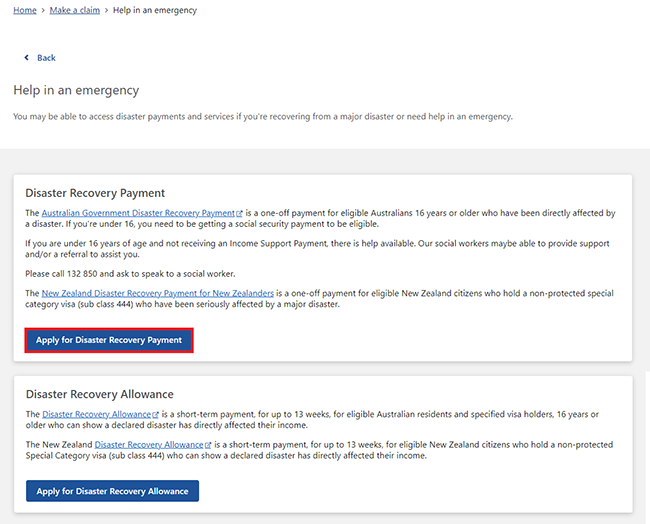
Read the information about Disaster Recovery Payment. Then select Apply for Disaster Recovery Payment.
Step 2: check eligibility
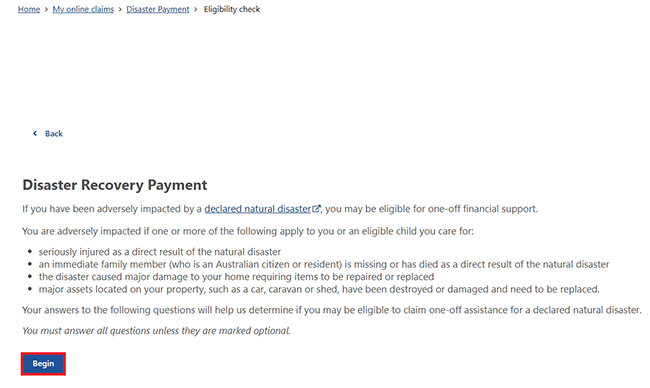
We’ll ask you questions to check if you’re eligible for this payment. To check your eligibility, select Begin.
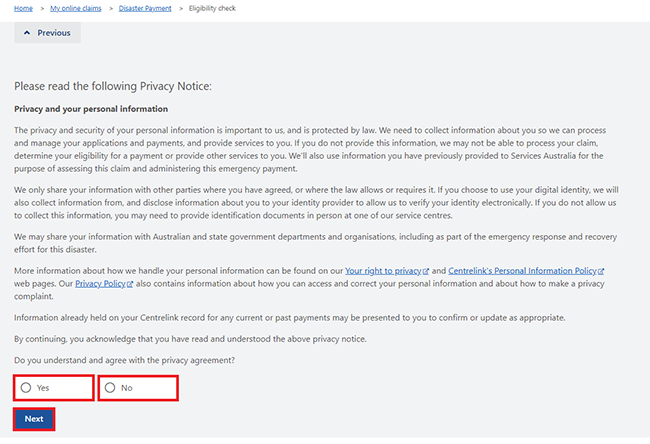
Read the Privacy Notice about how Services Australia uses your personal information.
Select Yes to agree with the privacy agreement, then Next to continue.
If you select No, you won’t be able to continue your claim.
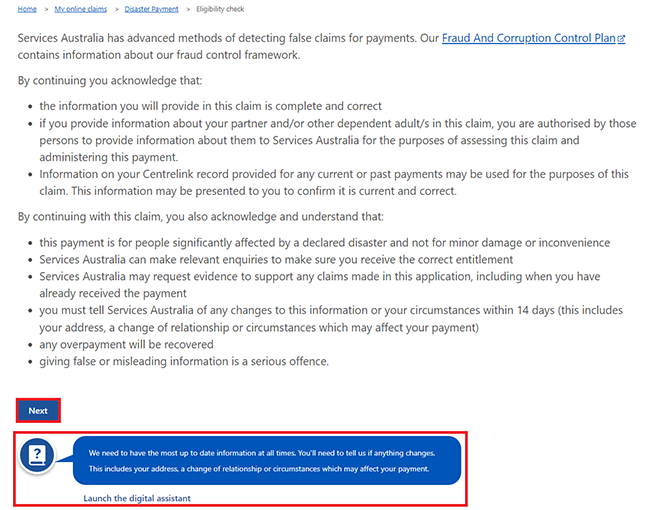
Read the acknowledgement about providing accurate information, then select Next.
Read the information with the question mark icon on each page to help you answer the questions correctly.
Select Launch the digital assistant to use our digital assistant for more help.
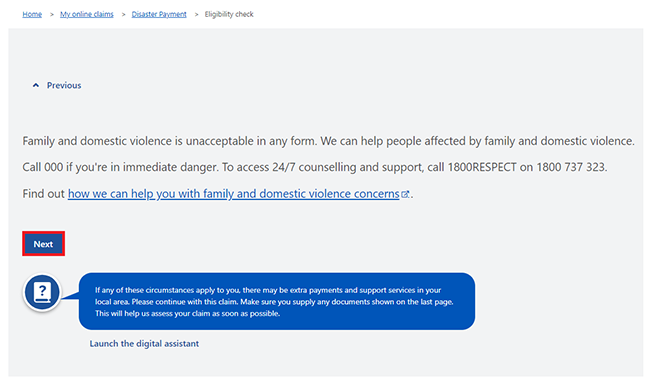
Read the information about family and domestic violence, then select Next.
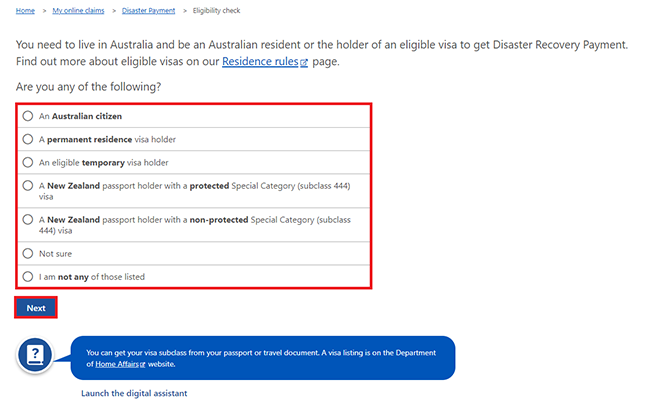
Select your current residency status, then Next.
In this example, we’ll select An Australian citizen.
If you select A New Zealand passport holder with a non-protected Special Category (subclass 444) visa, we’ll ask you different questions. This includes questions about your participation in the Australian income tax system.
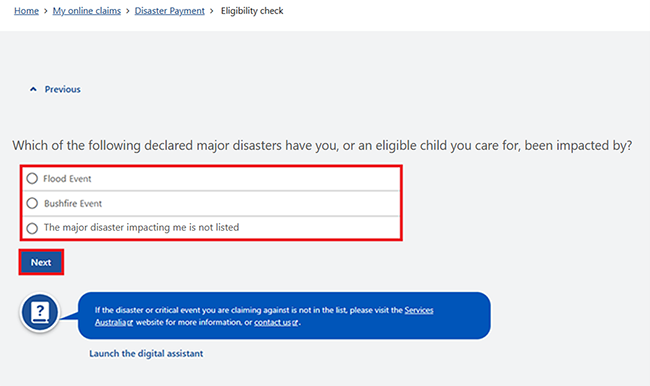
Select the disaster event you want to claim for. Then select Next.
In this example, we’ll select Flood Event. Images in this guide about a particular event are examples only.
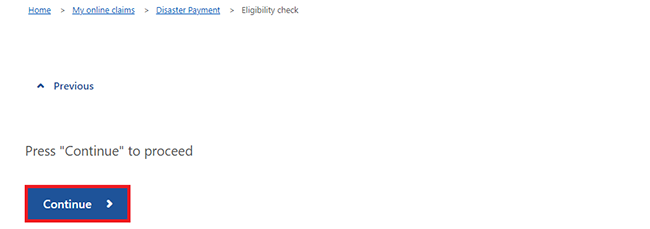
Select Continue to save your changes and proceed.
We’ll ask more questions about how you were impacted.
Select Begin.

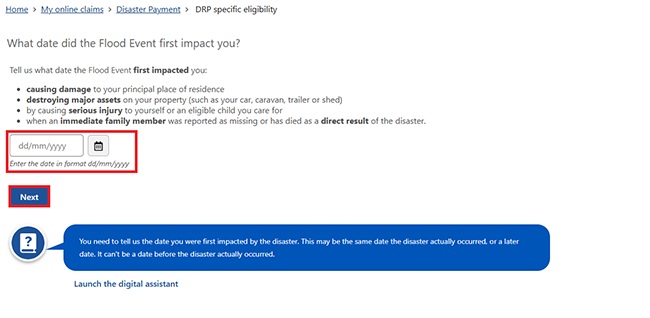
Select how you were impacted by the disaster, then Next.
You can select more than one option from the list.
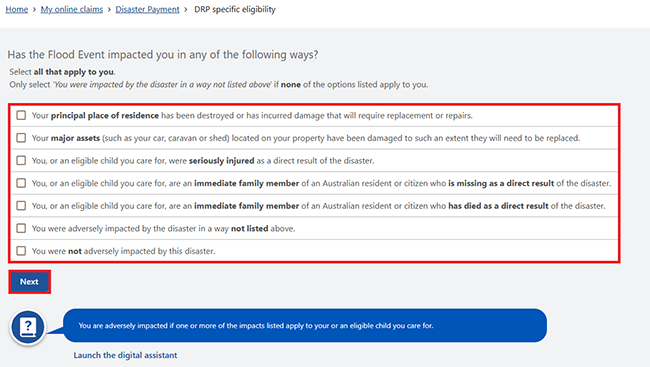
We may ask you different questions depending on the event and how you were impacted by the disaster.
Answer each question and select Next to move to the next one.
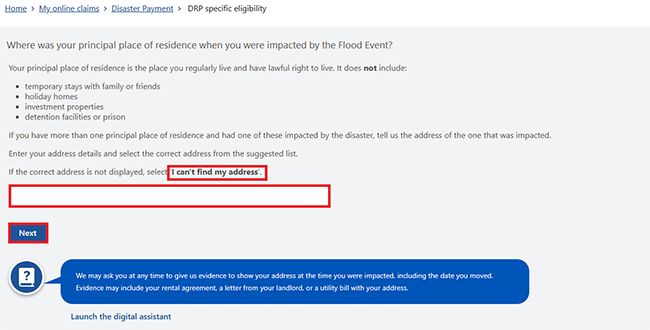
We’ll ask for your principal place of residence at the time you were impacted by the disaster.
Enter your address, including the house number and street name. When you start typing, you’ll be able to choose your street from the dropdown list. If you can’t find your address, select I can’t find my address.
After you enter your address details, select Next.
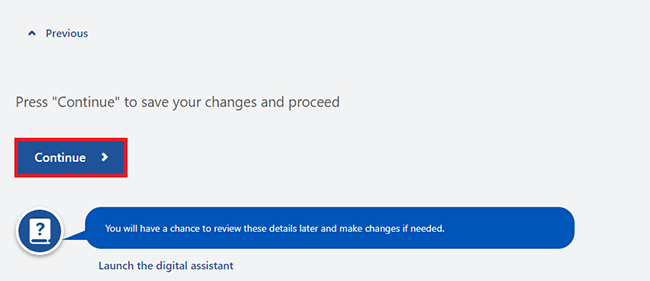
Select Continue to save your changes and proceed.
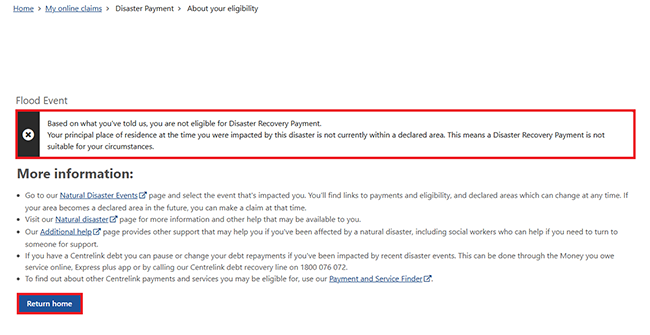
Based on your answers, we’ll let you know if a Disaster Recovery Payment is suitable for your circumstances.
There are different instructions to follow if a Disaster Recovery Payment is:
Not suitable
We’ll confirm a Disaster Recovery Payment is not suitable for your current circumstances. We’ll also suggest next steps.
Select Return home and go to Step 6 to sign out.
Suitable
We’ll let you know to submit your claim as soon as possible so we can pay you from the earliest date.
Select Start claim.
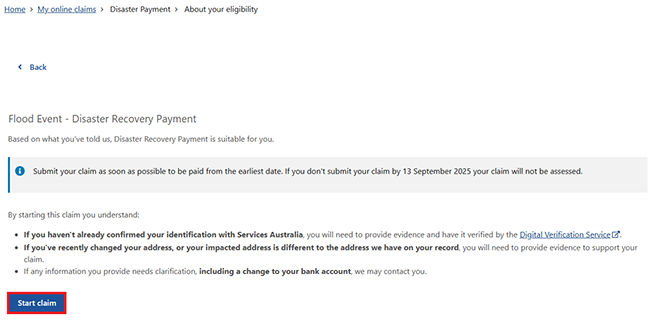
Step 3: start your claim and answer questions
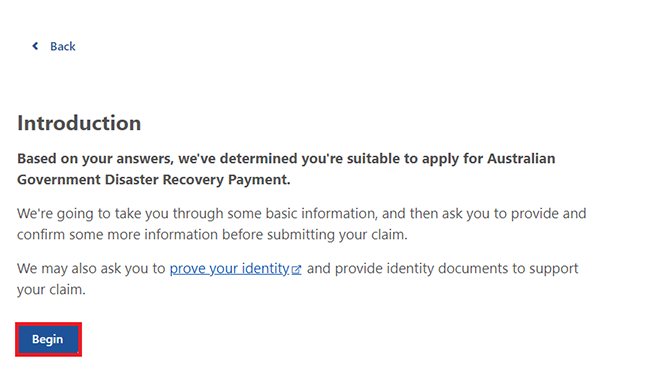
Select Begin to start your claim.
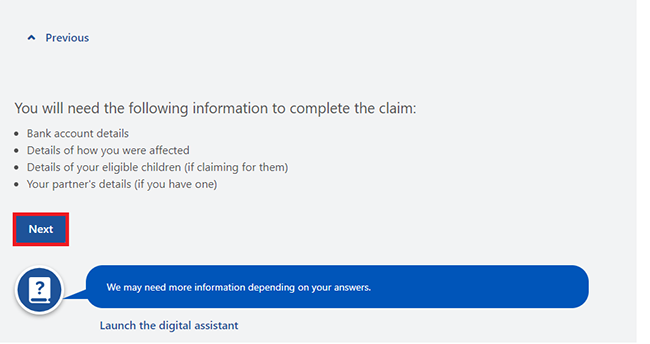
Get the information you need to complete your claim, then select Next.
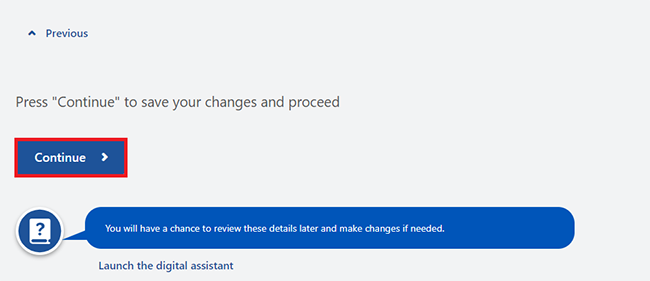
Select Continue to save your changes and proceed.
Select Begin to answer questions about your personal details.
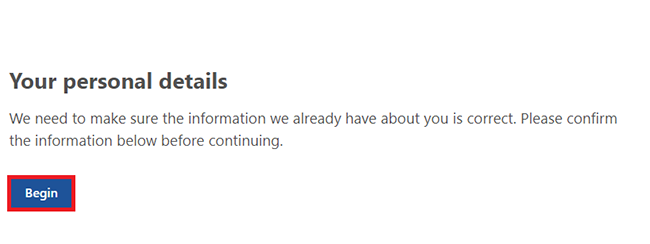
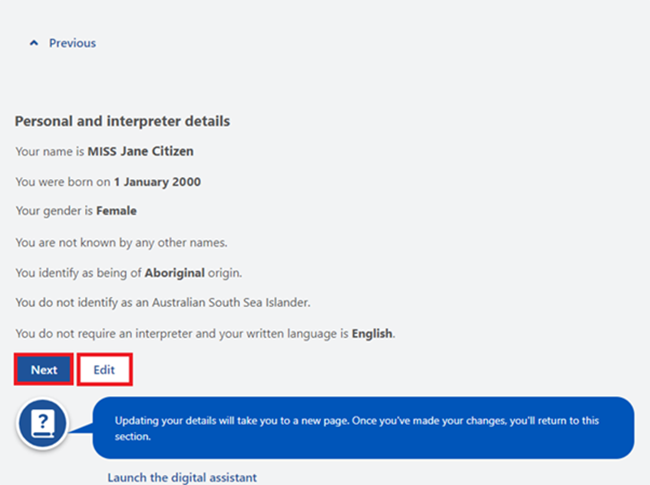
Check your personal details are correct.
If they’re correct, select Next.
If they’re wrong, select Edit to update them. You’ll go back to this page after you finish your update.
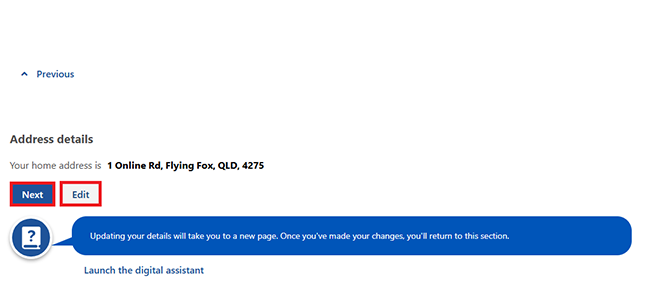
Check your address details.
If they’re correct, select Next.
If they’re wrong, select Edit to update them. You’ll go back to this page after you finish your update.
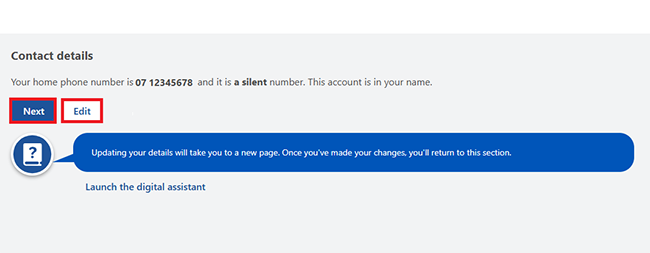
Check your contact details.
If they’re correct, select Next.
If they’re wrong, select Edit to update them. You’ll go back to this page after you finish your update.
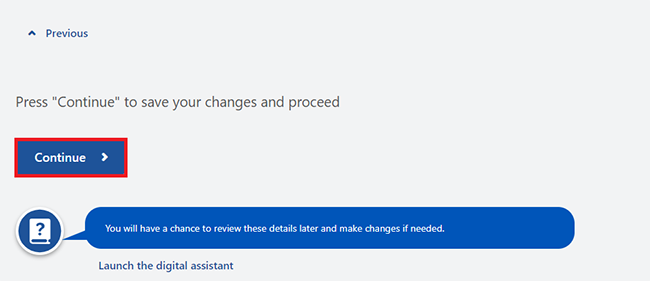
Select Continue to save your changes and proceed.
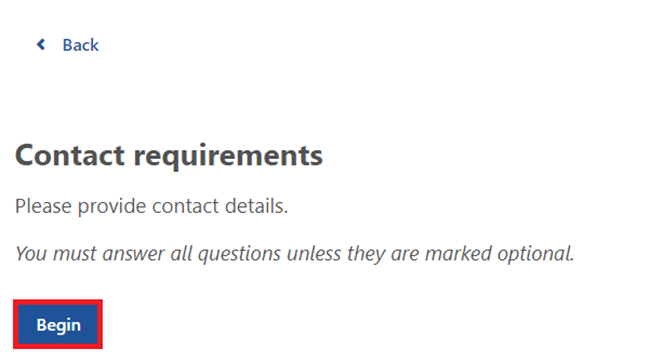
Select Begin to answer questions about your contact details.
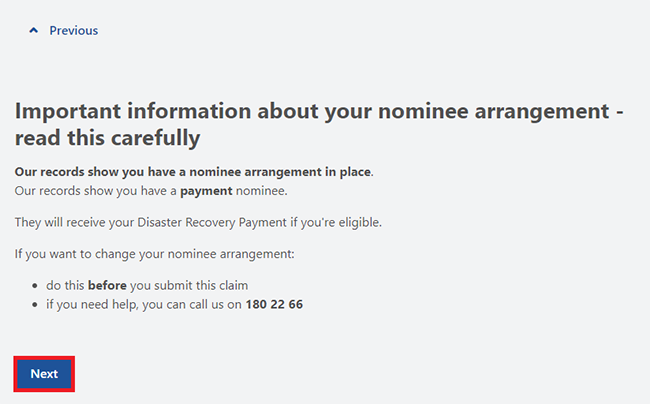
If you have a current correspondence or payment nominee arrangement, you’ll get the following message to remind you of this arrangement.
If you don’t want your payment to go to your payment nominee, or a correspondence nominee to receive a letter, you need to update these details before you submit your claim. You can manage your nominee arrangements using your Centrelink online account or by calling us on 180 22 66.
If you want to continue, select Next.
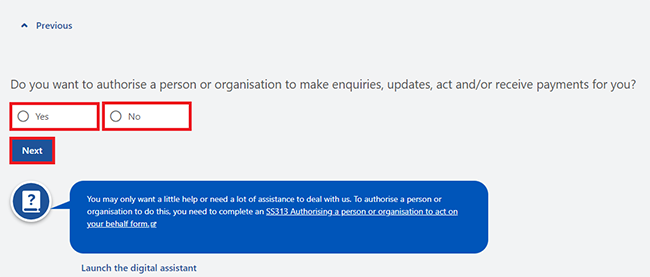
Answer all the questions about your contact requirements by entering the information we ask for.
After you answer each question, select Next to move to the next one.
When you’ve answered all the questions, select Continue to save your changes and proceed.
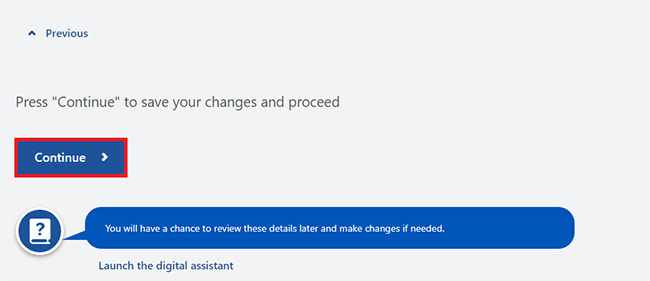
Select Begin to answer questions about your residence.
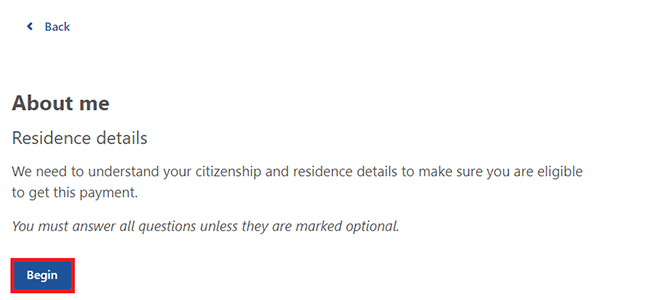
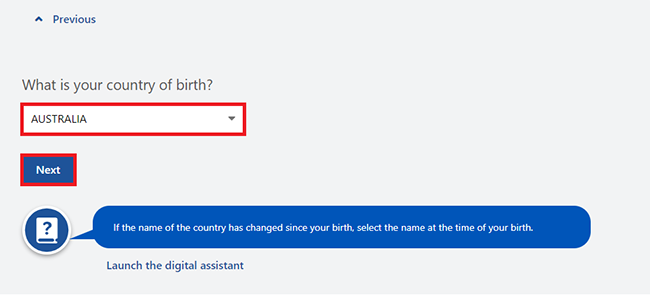
Answer all the questions about your residence by entering the information we ask for.
After you answer each question, select Next to move to the next one.
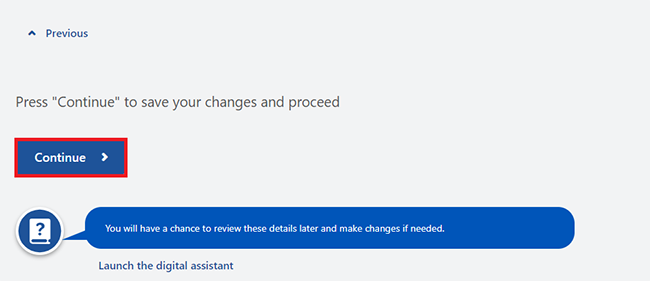
When you’ve answered all the questions, select Continue to save your changes and proceed.
Read the information about your circumstances, then select Begin.
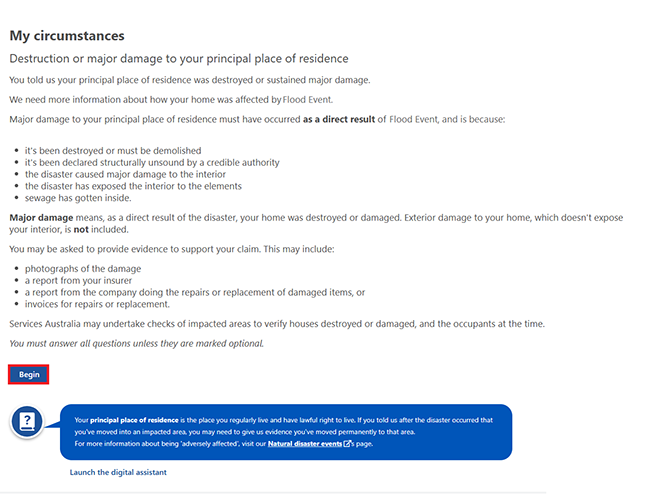
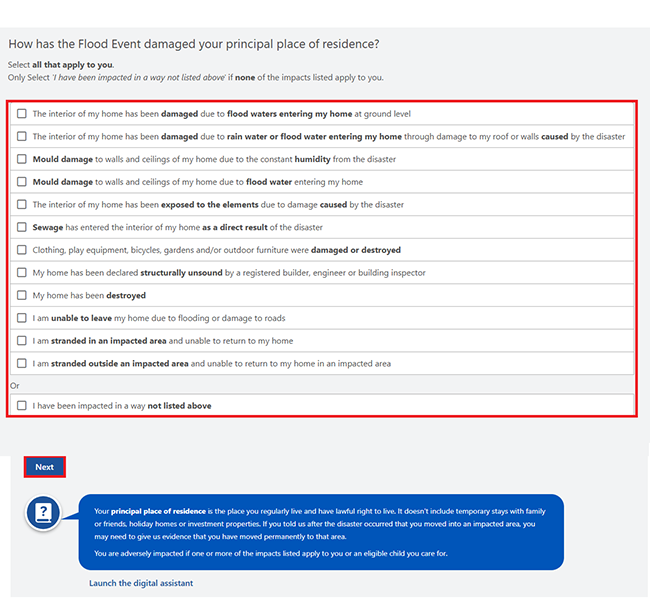
Answer all the questions about your circumstances by entering the information we ask for.
We may ask you different questions depending on how you were affected by the disaster.
After you answer each question, select Next to move to the next one.
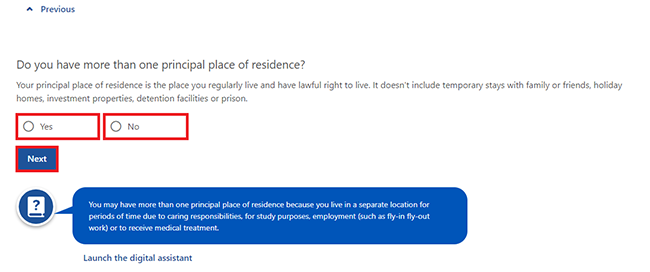
Let us know if you have more than one principal place of residence.
If you do, you’ll need to answer additional questions. Select Next.
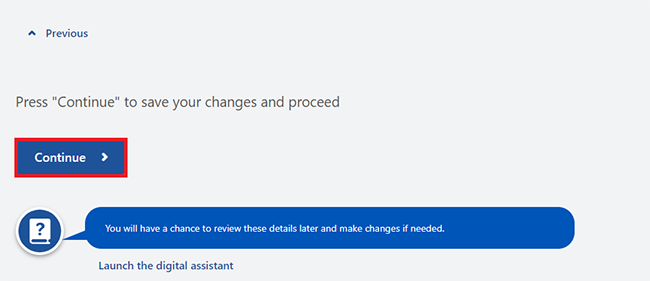
When you’ve answered all the questions, select Continue to save your changes and proceed.
Select Begin to tell us about any child you want to claim for.
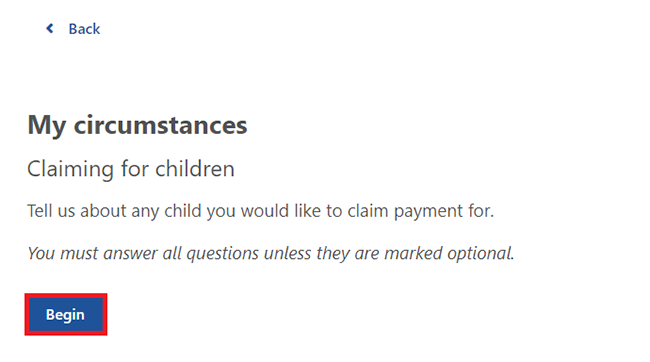
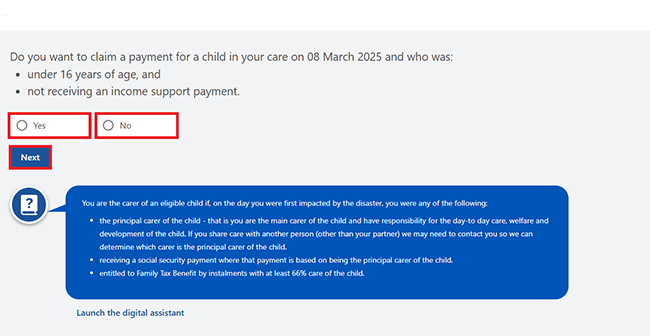
Select Yes or No if you want to claim for a child in your care. Then select Next.
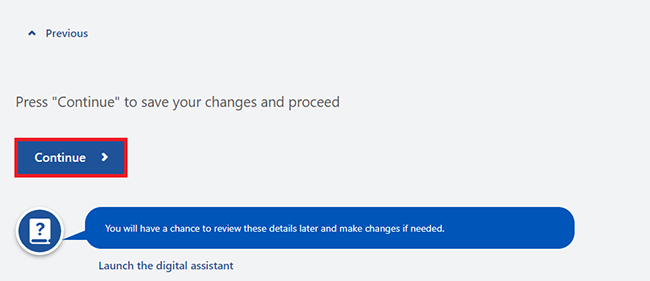
Select Continue to save your changes and proceed.
If you want to claim for an eligible child, we’ll ask you some more questions.
Select Begin to tell us about the child you want to claim for.
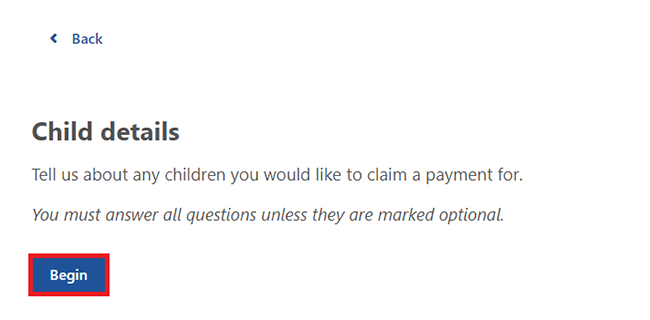
Answer all questions about your children by entering the information we ask for. This includes selecting Edit where we show Update required. Select Add if you need to enter another child in your care at the time of the disaster.
After you answer each question, select Next to move to the next one.
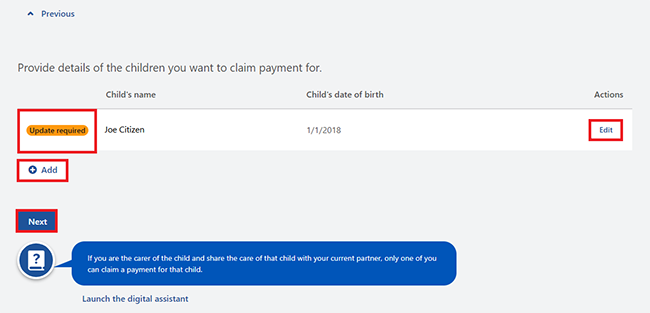
When you’ve answered all the questions, select Continue to save your changes and proceed.
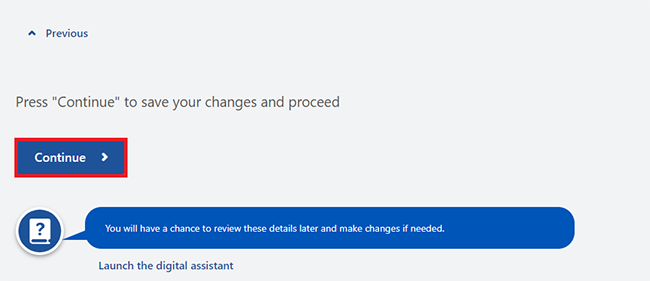
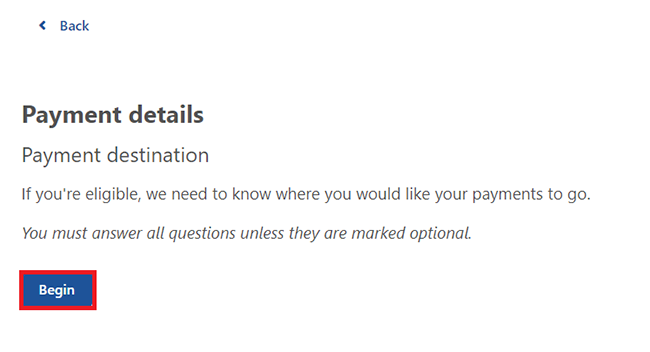
Select Begin to tell us where you’d like your payments to go.
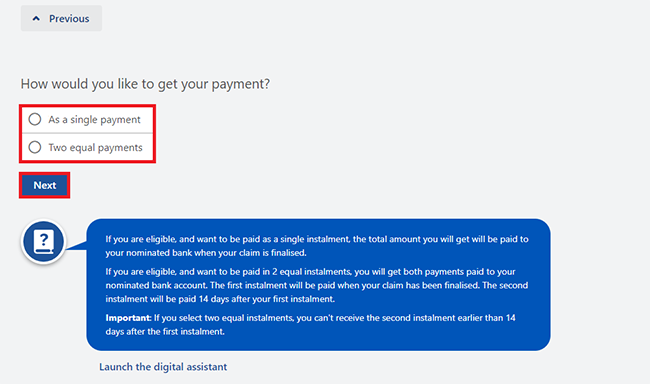
Select how you’d like to get your payment, then Next.
Enter your bank account details. The account must be in your name, or a joint account that includes your name. Then select Next.
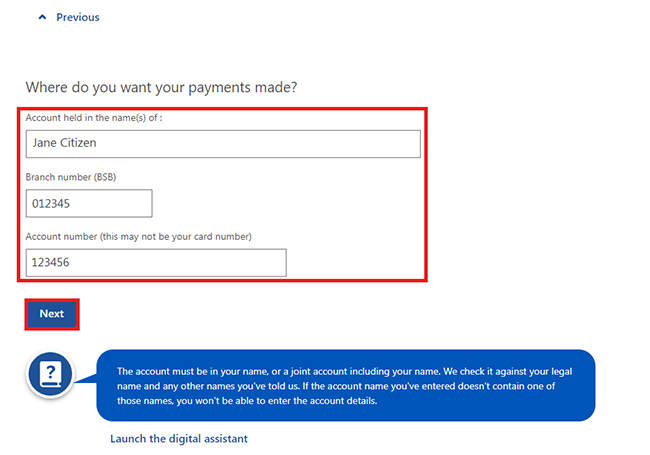
Select Continue to save your changes and proceed.
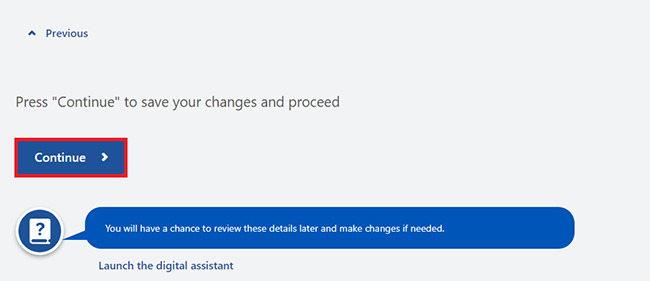
Step 4: review and confirm your claim
Select Begin to review the details you gave us.
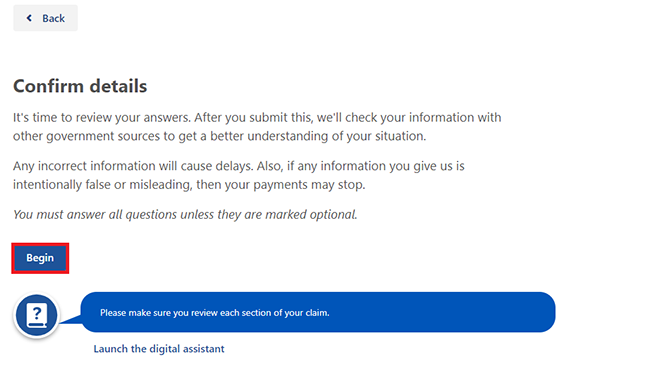
Select Next to continue.
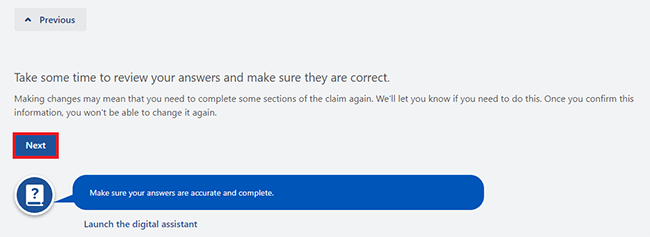
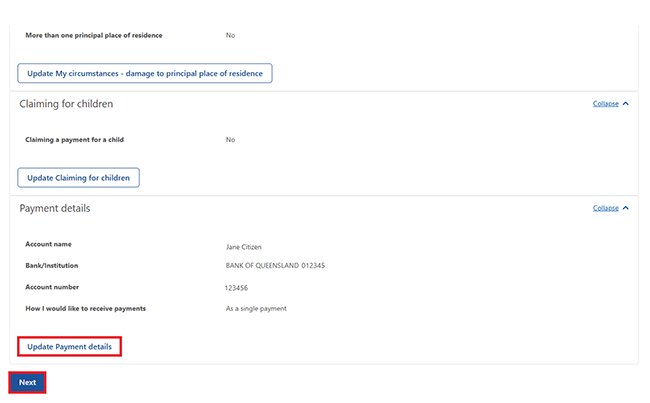
We’ll give you a summary of your claim details. Review each section to check your details are correct. If you need to make changes, select the relevant Update button. For example, select Update Payment details to change those details.
If all the details are correct, select Next to read your obligations and terms of the claim.
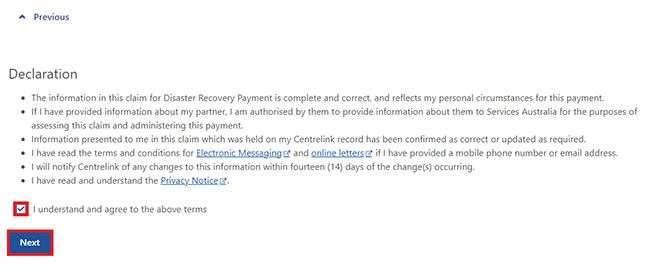
Read the Declaration. If you understand and agree with the terms in the Declaration, select I understand and agree to the above terms. Then select Next.
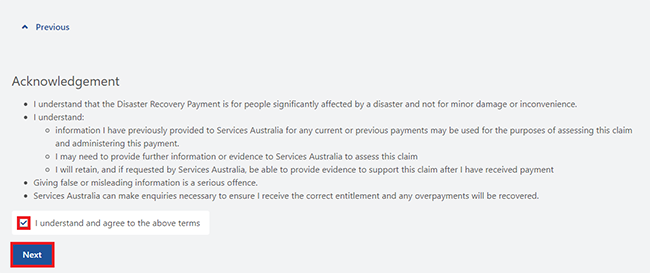
Read the Acknowledgement. If you understand and agree with the terms in the Acknowledgement, select I understand and agree to the above terms. Then select Next.
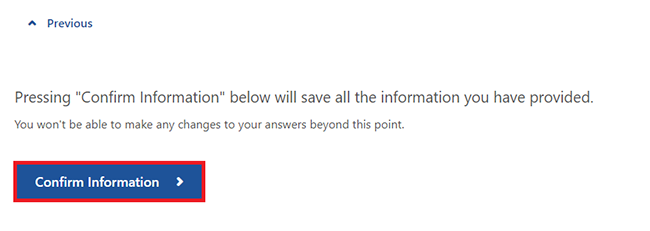
Select Confirm Information to save all the information you gave us and go back to your claim page. You won’t be able to make any changes to your answers after this point.
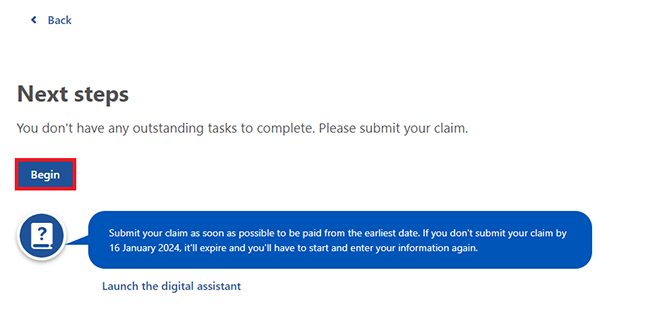
In this example, there are no required tasks. Select Begin to submit your claim.
Note: If you’re claiming New Zealand Disaster Recovery Payment, we’ll ask you for evidence to show you’ve participated in the Australian income tax system.
Step 5: submit claim
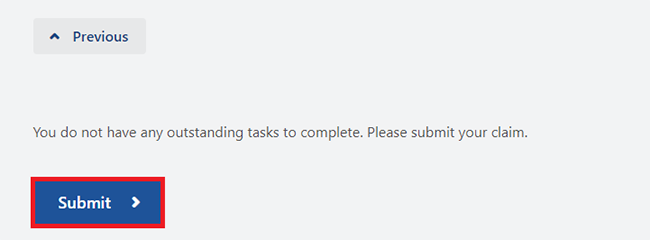
If you’re ready to submit your claim, select Submit.
If you need to make changes after submitting your claim, you’ll need to withdraw that claim and start a new one. If you withdraw your claim twice, you won’t be able to submit another claim online. If you reach the limit, you’ll need to call us on the Emergency information line for help with submitting your claim.
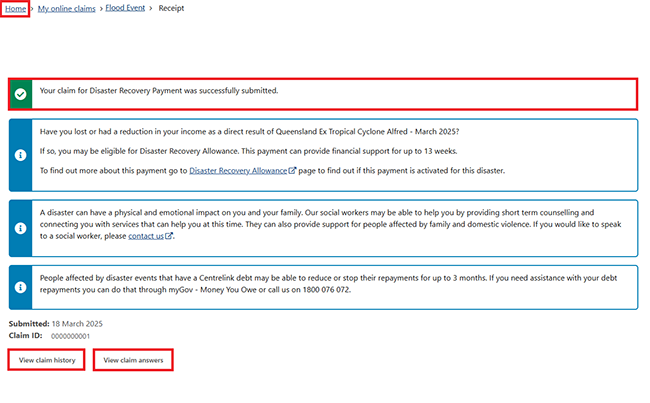
We’ll let you know if you’ve successfully submitted your claim.
You can then select any of the following:
- Home to go back to your homepage
- View claim history to check the history of your claim
- View claim answers to check the information you gave us.
You can track the progress of your claim from your homepage. To check the status of your claim, select Make a claim or view claim status.
Step 6: sign out
From your homepage, you can complete other transactions or select Return to myGov to go back to your myGov account.
For your privacy and security, sign out when you’ve finished using your myGov account.
View other online account and Express Plus mobile app guides and video demonstrations about using your online account.
Contact numbers available on this page.
Emergency information line
Call this line if you’re affected by a natural disaster and need help to claim a payment.
There are other ways you may want to contact us.