in this guide
Uploading documents to us online is safe and convenient.
You can upload most documents using the Express Plus Centrelink mobile app. Read about what kind of documents you can upload and how to set up the app.
In some cases, you can give us identity documents online. Read more about how you can confirm your identity.
Before you upload a document, remove the password protection on the document.
We accept jpg, png or pdf file formats. The total size of all files for each upload must be less than 10 MB. You can include up to 10 files for each upload.
Please make sure all images you upload are appropriate. Don’t upload any images that:
- are distressing, intimidating or offensive
- are of the human body as evidence of physical injuries or to support a claim
- could be considered illegal, as we may report them to the relevant authorities.
The screenshots in this guide are from an iOS device. Some screens may look different if you’re using an Android device.
Watch our video about how to upload documents.
Step 1: get started
Sign in to myGov or the myGov app and select Centrelink.
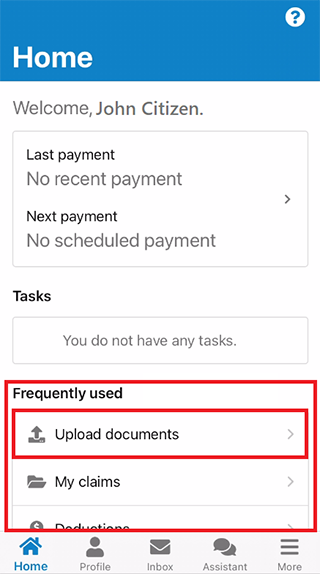
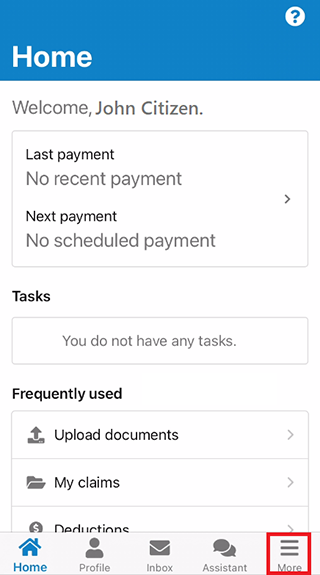
Select Upload documents from Frequently used on your home screen.
Step 2: upload your document
The total size of all files for a document upload must be under 10MB. Each file must also be in one of the following formats:
- png
- jpeg.
You can include up to 10 files for each upload.
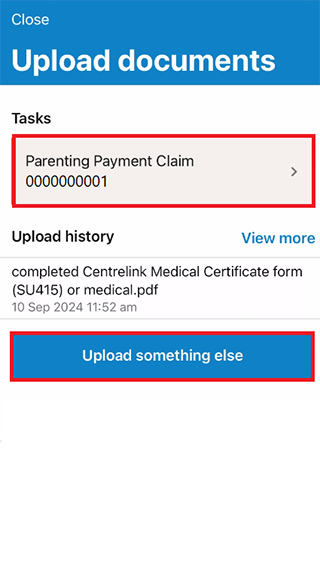
If you need to give us documents to complete a required task, select it from Tasks and upload your documents.
If you need to give us something different, select Upload something else.
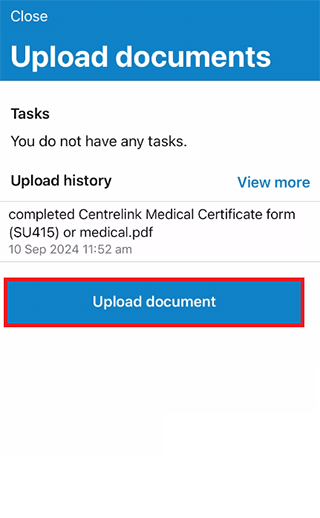
If you don’t have any required tasks, select Upload document.
Select the document type you want to upload. Select either:
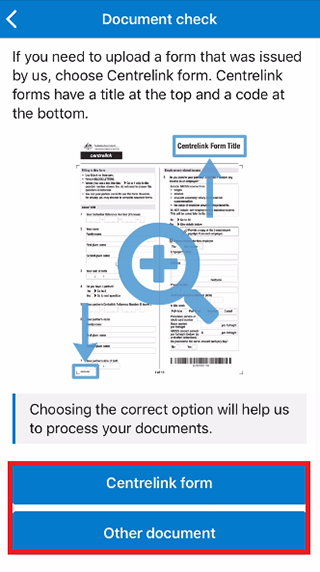
Centrelink form
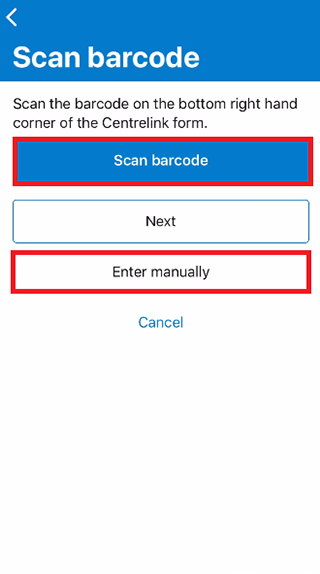
If you chose Centrelink form, you can select either:
- Scan barcode, to use your device to capture the barcode at the bottom of the Centrelink form.
- Enter manually, to enter the form title or form code.
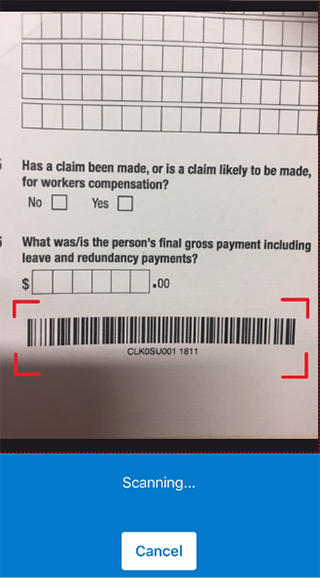
Scan barcode
If you selected Scan barcode, the camera on your device will open. Move the borders around the barcode. Your device will scan the barcode automatically.
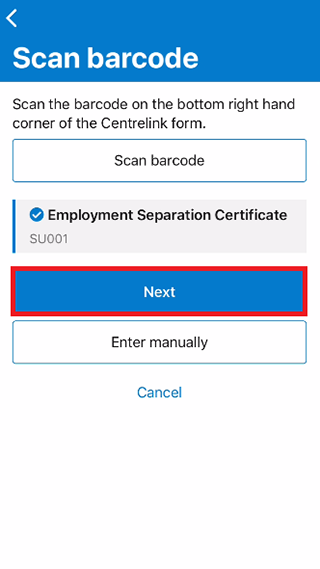
Make sure you fill out and sign the form before you upload it.
Select Next to continue.
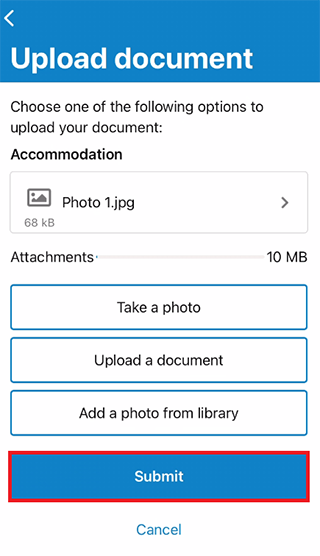
To upload a document, select one of these options:
- Take a photo to capture an image of the document
- Upload a document to choose a document you’ve already saved in your device or in the cloud
- Add a photo from library to choose an existing photo from your device’s photo album or gallery.
Go to Step 3 if you chose Upload a document or Add a photo from library and are ready to review and submit.

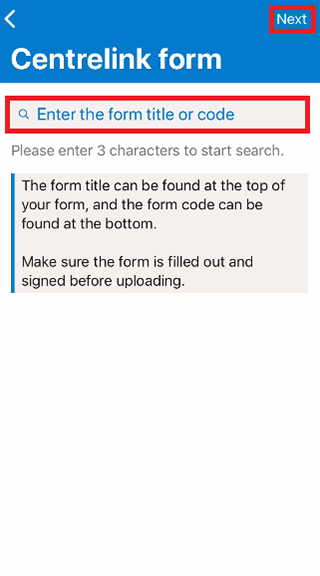
Enter manually
If you selected Enter manually, you’ll need to know the form code or title. To search for your form details, enter the form title or form code. Select the form from the search results, then Next.
You’ll find your form title at the top of your form. The form code will be at the bottom of your form.
Make sure you fill out and sign the form before you upload it.
Other document
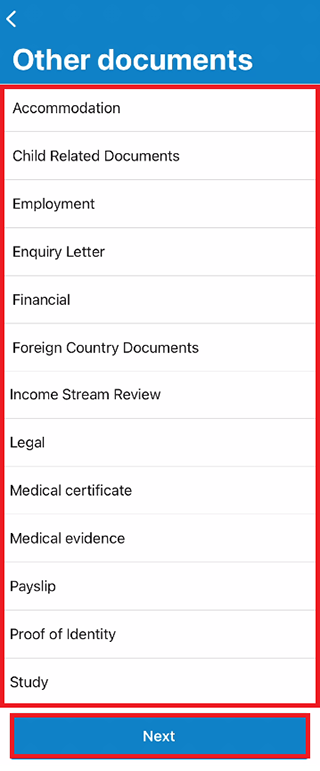
If you chose Other document, select what your document relates to from the document category list, then Next.
Find out more about which documents you can upload.
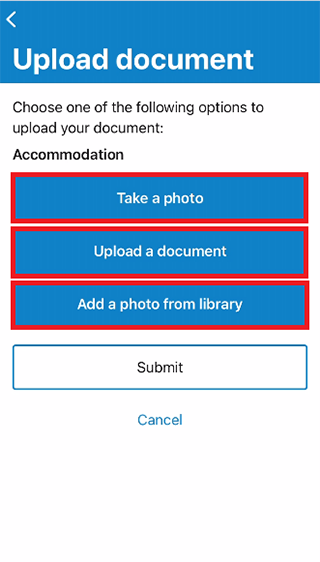
To upload a document, select one of these options:
- Take a photo to capture an image of the document
- Upload a document to choose a document you’ve already saved in your device or in the cloud
- Add a photo from library to choose an existing photo from your device’s photo album or gallery.
Go to Step 3 if you chose Upload a document or Add a photo from library and are ready to review and submit.
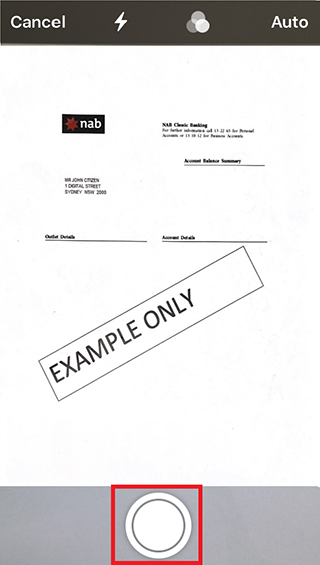
Take a photo
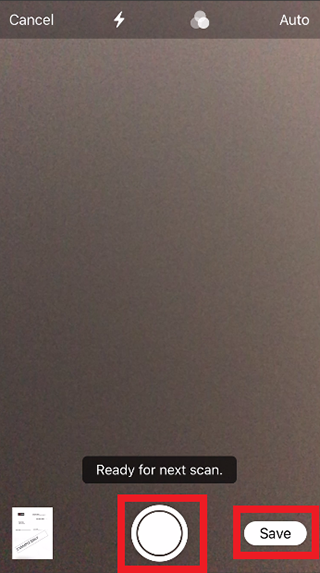
Position your document in front of your camera and when ready, select the capture icon.
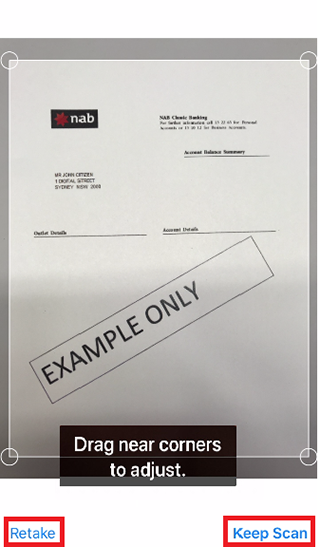
To change the size of your photo, you can drag the corners to adjust it.
Select Retake if you want to take the photo again. When you’re finished select Keep Scan.
Select:
- the Capture icon if you want to take another photo
- Save when you’ve finished taking your photos.
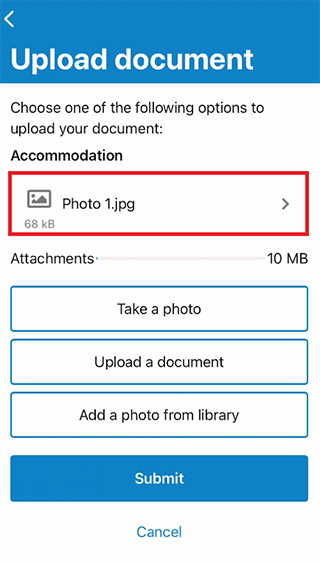
Step 3: review and submit
A progress bar will show before submitting your document.
Select the Photo file if you need to edit it.
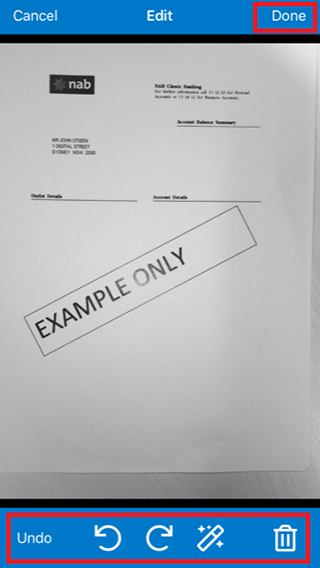
Edit your photo
On this screen, you can do the following:
- Undo your last action and start again
- rotate the photo using the rotate icons
- improve the photo quality using the enhance icon
- delete the photo using the bin icon.
When your photo’s ready, select Done.
If you need to add another photo on the same upload, select one of these options:
- Take a photo
- Upload a document
- Add a photo from library.
Repeat Step 2 to upload another document.
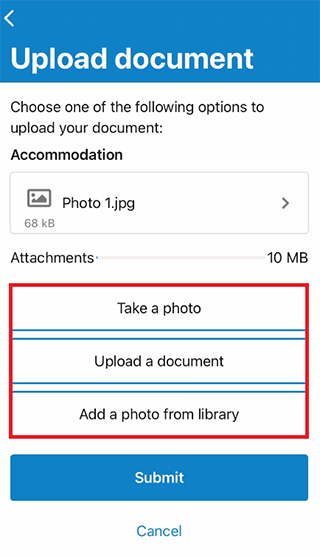
When your documents are ready, select Submit.
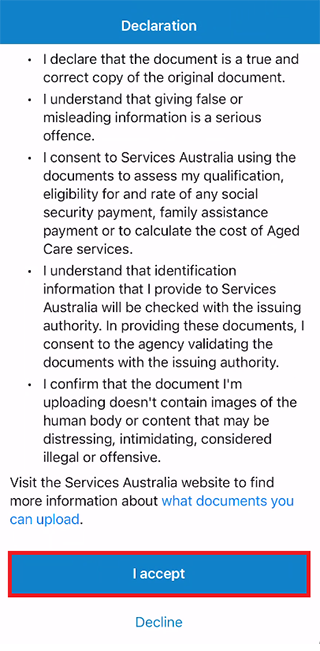
Read the declaration. If you understand and agree with the declaration, select I accept.
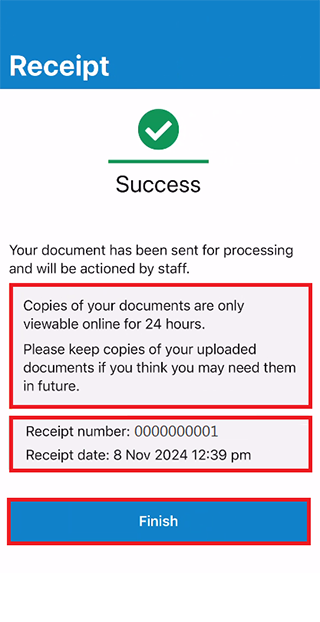
Get your receipt
We’ll give you a receipt when you upload your documents. Make a note of the Receipt number for your records.
You can only view and download copies of your documents for 24 hours after you upload them. Please keep copies of your uploaded documents if you think you’ll need them in future.
Select Finish to go back to your home screen.
Go to:
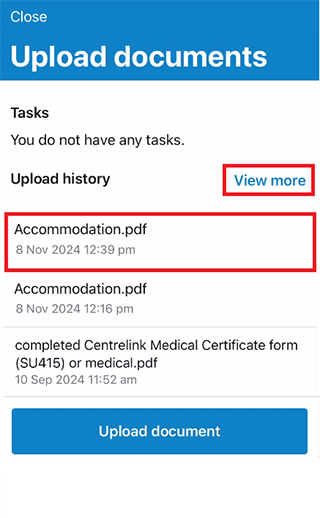
Step 4: view history
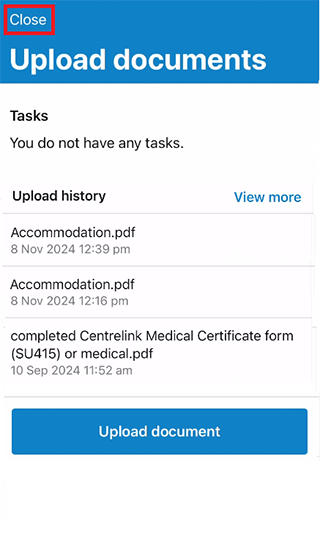
On the Upload documents history screen, you can check your uploaded documents. Your previous document is the same name as the category used to upload it.
To check more details, select View more.
Accessing documents you upload
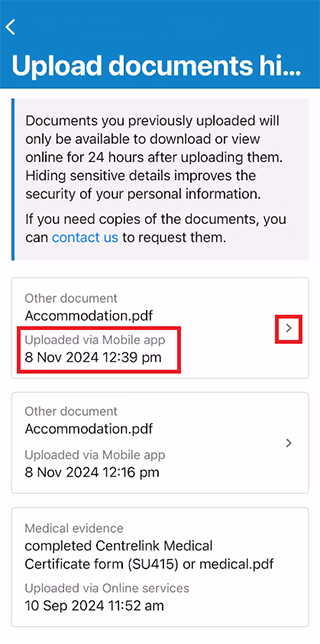
Copies of documents you upload will only be available to download or view online for 24 hours. You can check the document type, how it was uploaded, as well as the date and time of the upload for 2 years. Hiding sensitive details helps protect your personal information. If you need copies of those documents, you can contact us to request them.
On the Upload documents history screen, your documents will show the following:
- how you uploaded it
- the date and time you uploaded it.
Your documents will have an arrow icon next to them if it’s been less than 24 hours since you uploaded them. You can select the arrow icon to check your document.
If your document doesn’t have an arrow icon, you won’t be able to view or download it.
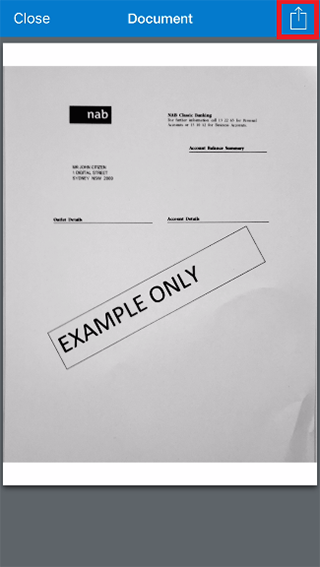
Select the upload icon to do any of the following:
- copy or print your document
- save your document to a file
- create a PDF document
- send your document to another Apple device using AirDrop, or Android device using Nearby Share.
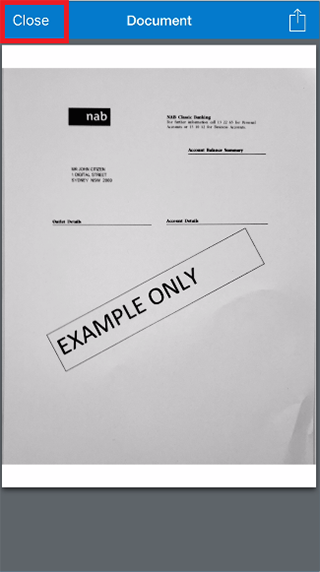
Select Close.
When you’re finished, select the arrow icon to go back to the Upload documents screen.
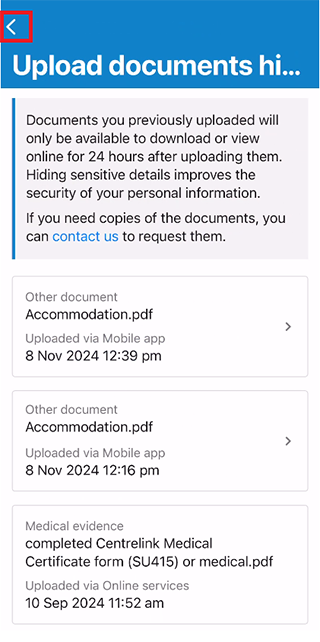
Select Close to go back to your home screen.
Step 5: sign out
For your privacy and security, sign out when you’ve finished using the app.
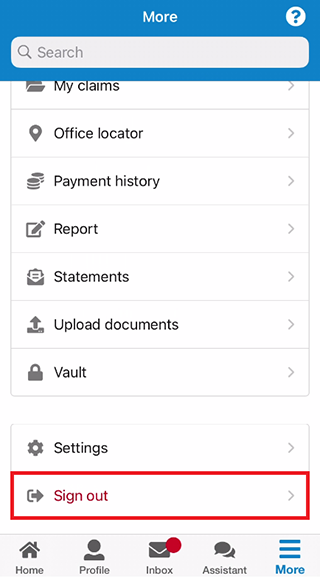
To sign out, select More on your home screen, then Sign out.
View other online account and Express Plus mobile app guides and video demonstrations about using your online account.